Appvector Guide :Adding Your App in Appvector
Here is a clear and concise instruction guide to help users add an app in Appvector:
📲 How to Add Your App in Appvector
Follow these simple steps to add and set up your app in Appvector:
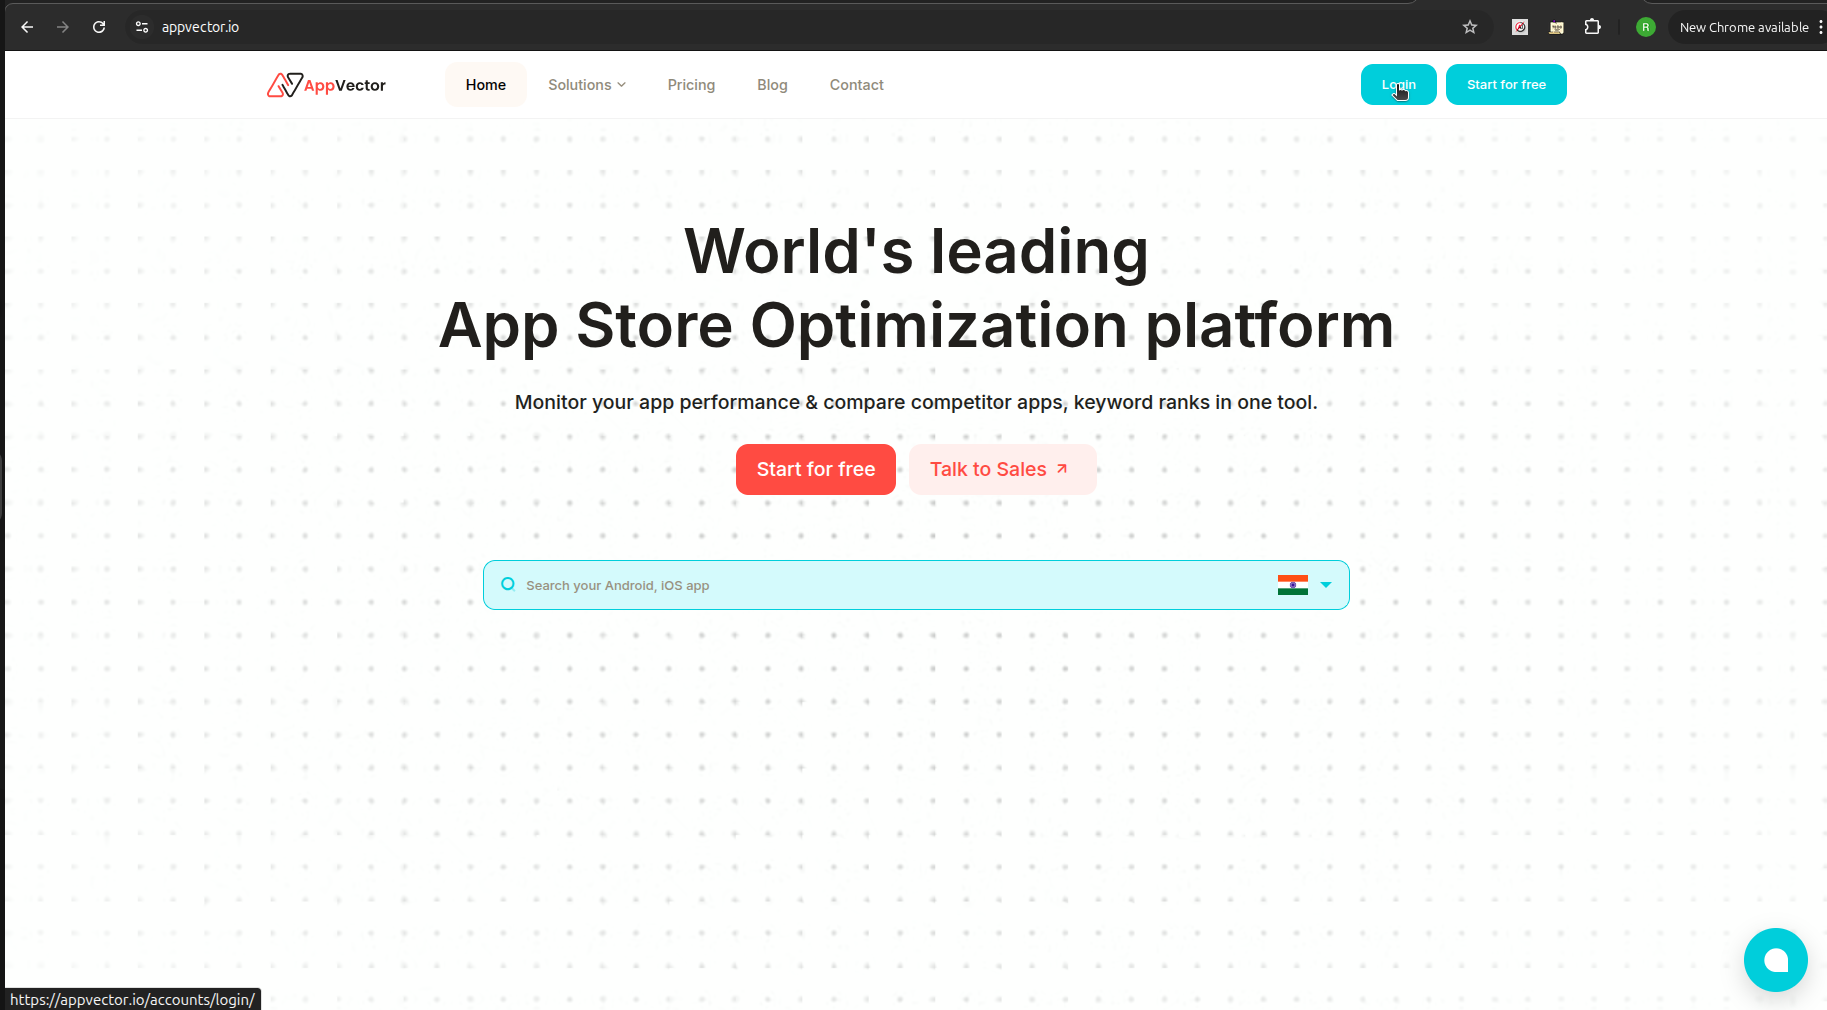
✅ Step 1: Log in to Appvector
- Visit the Appvector website.
- Click the Login button at the top-right corner.
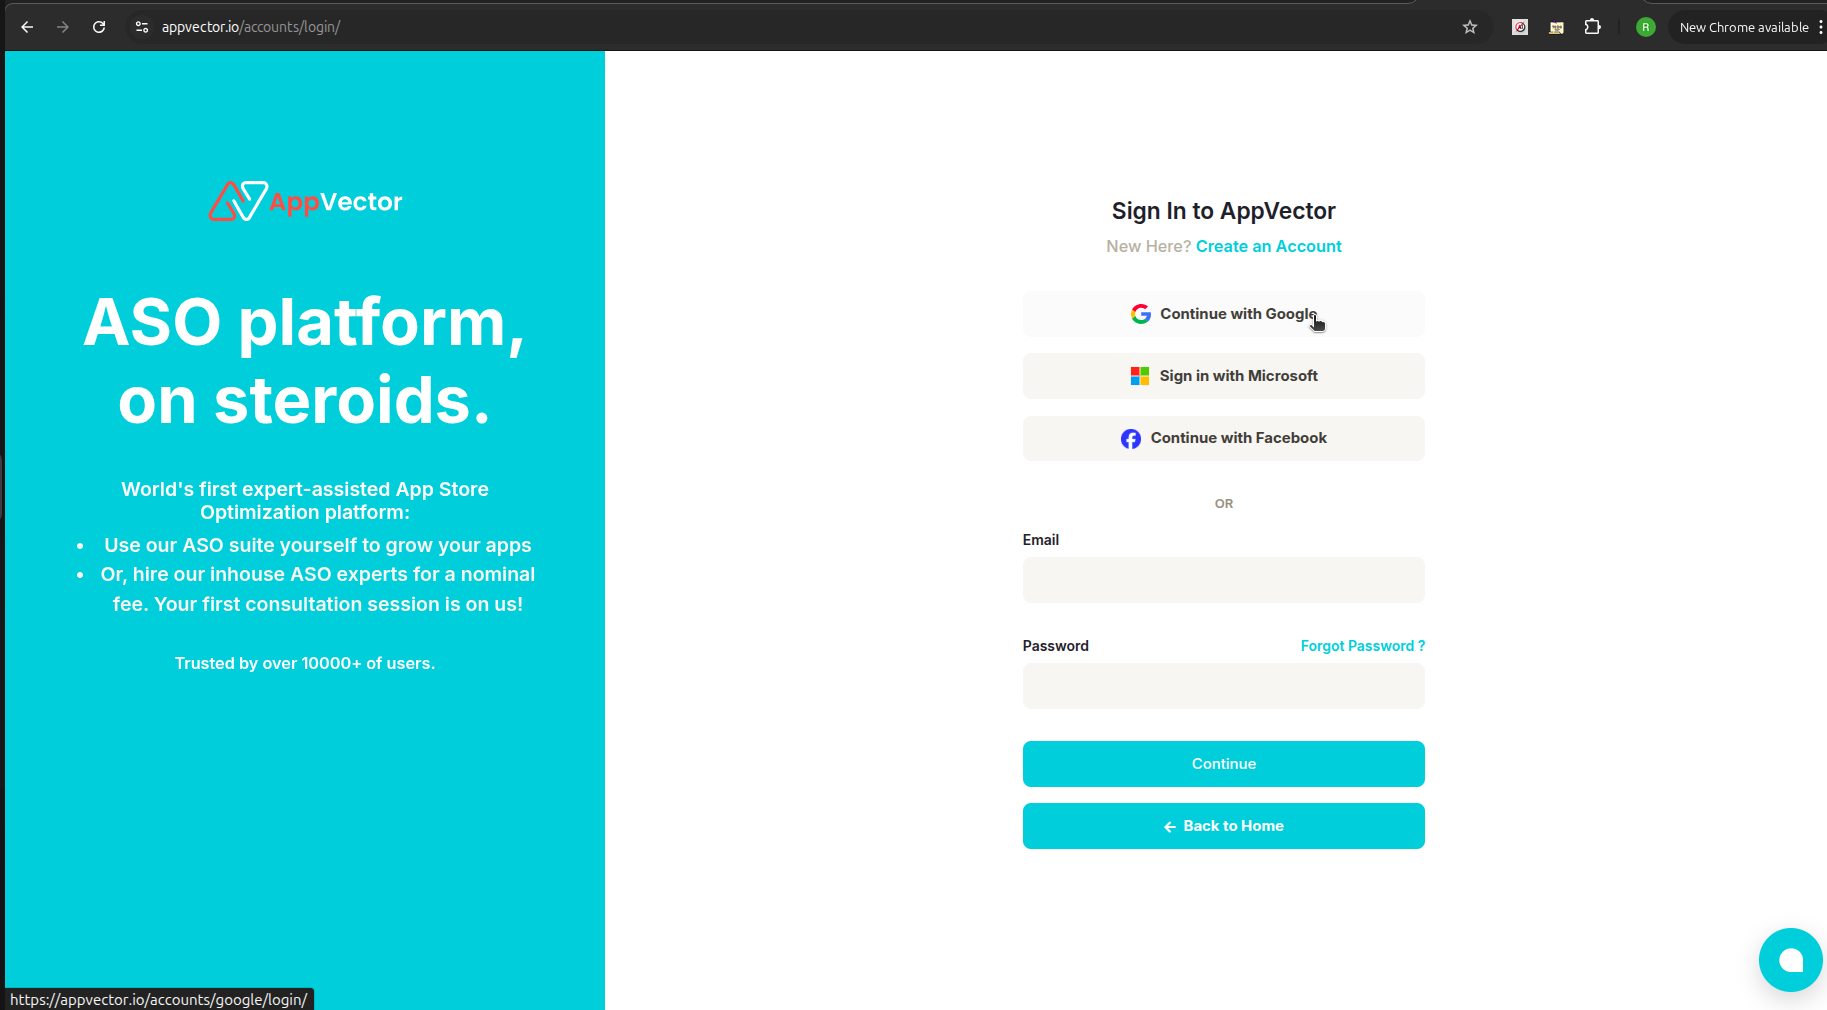
- Sign in using your preferred method:
- Microsoft
- Or using your email and password
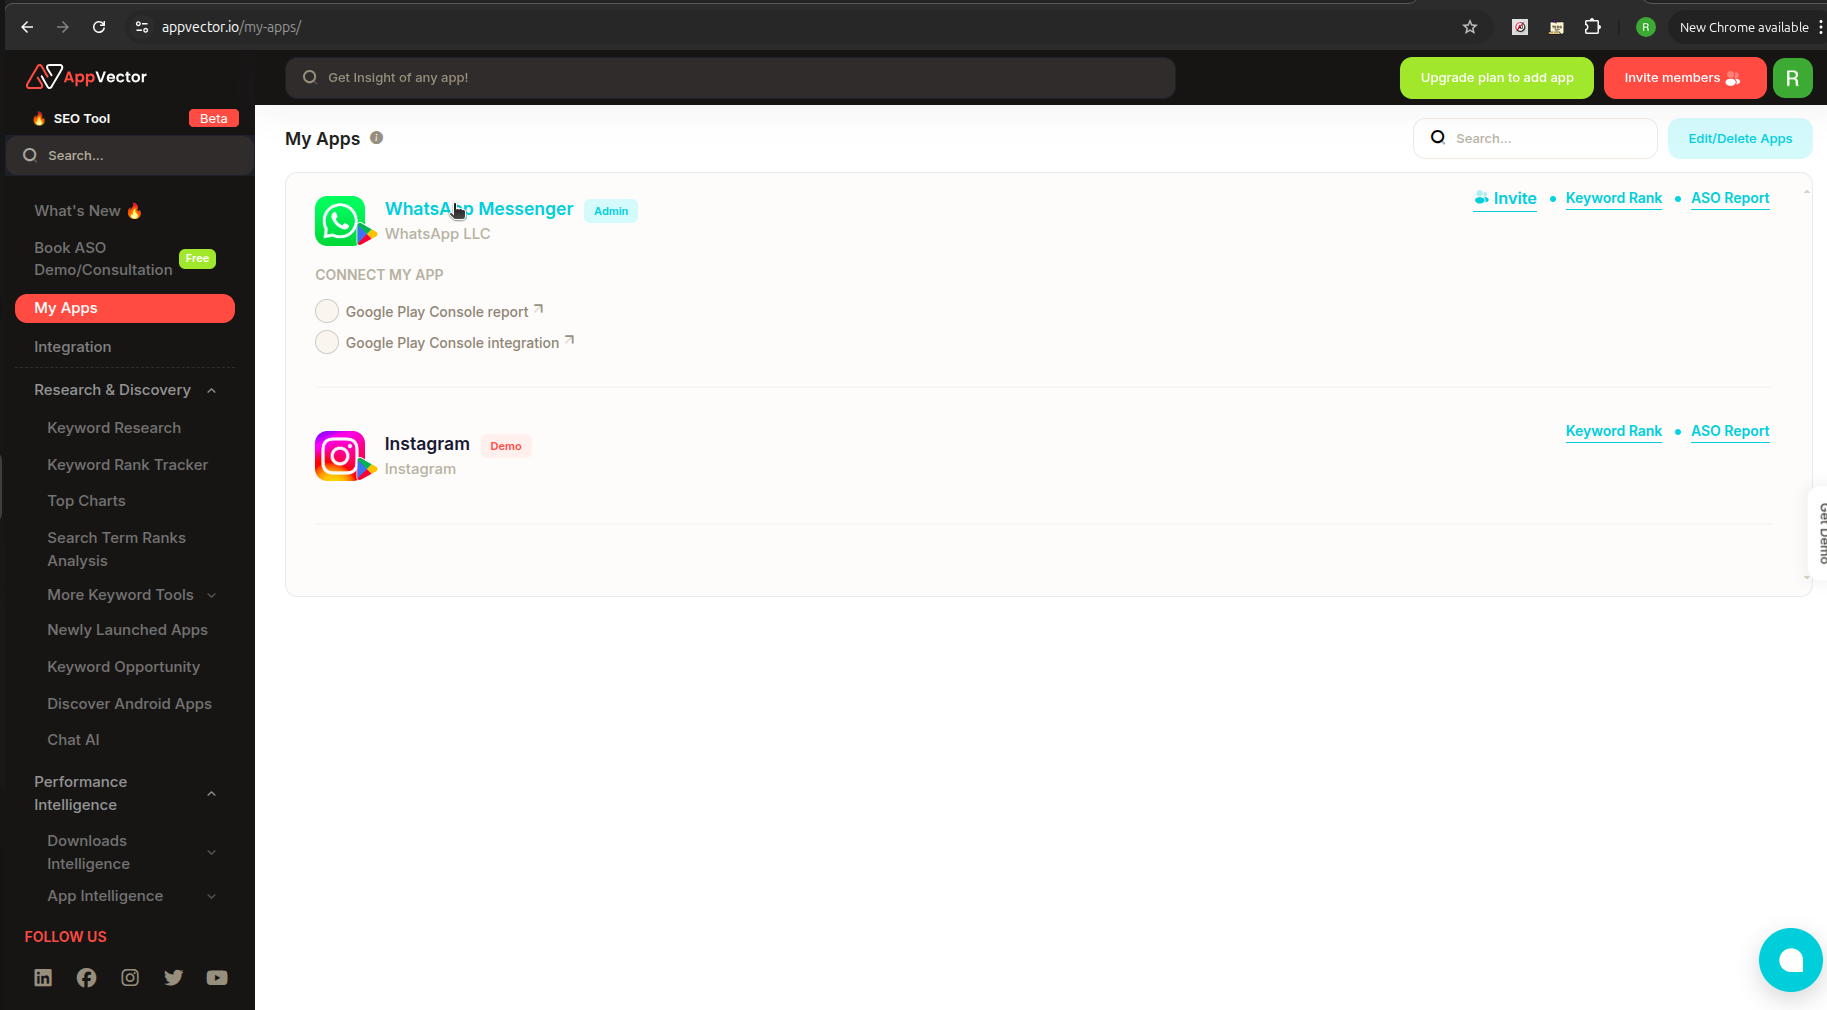
➕ Step 2: Start Adding Your App
- After logging in, you’ll be directed to the My Apps page.
- Click the Add App button (located at the top-right corner).

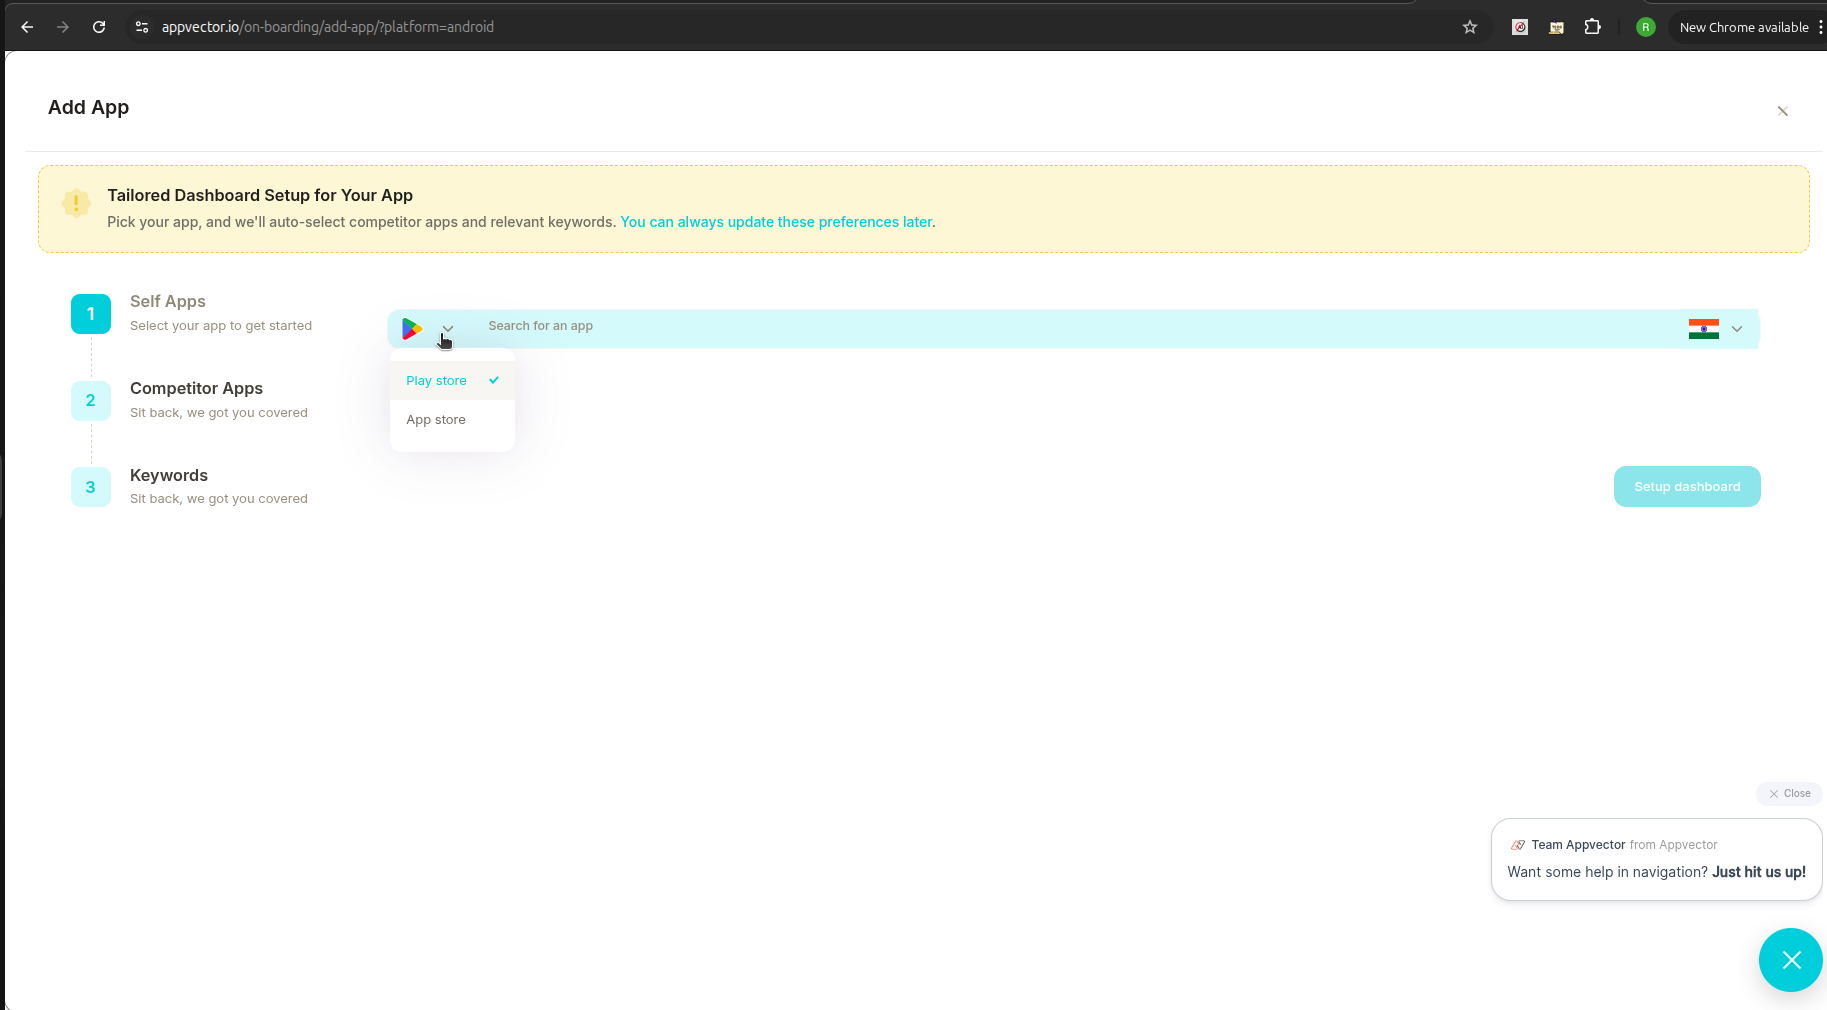
⚙️ Step 3: Configure Your App
- A setup wizard will guide you through the process.
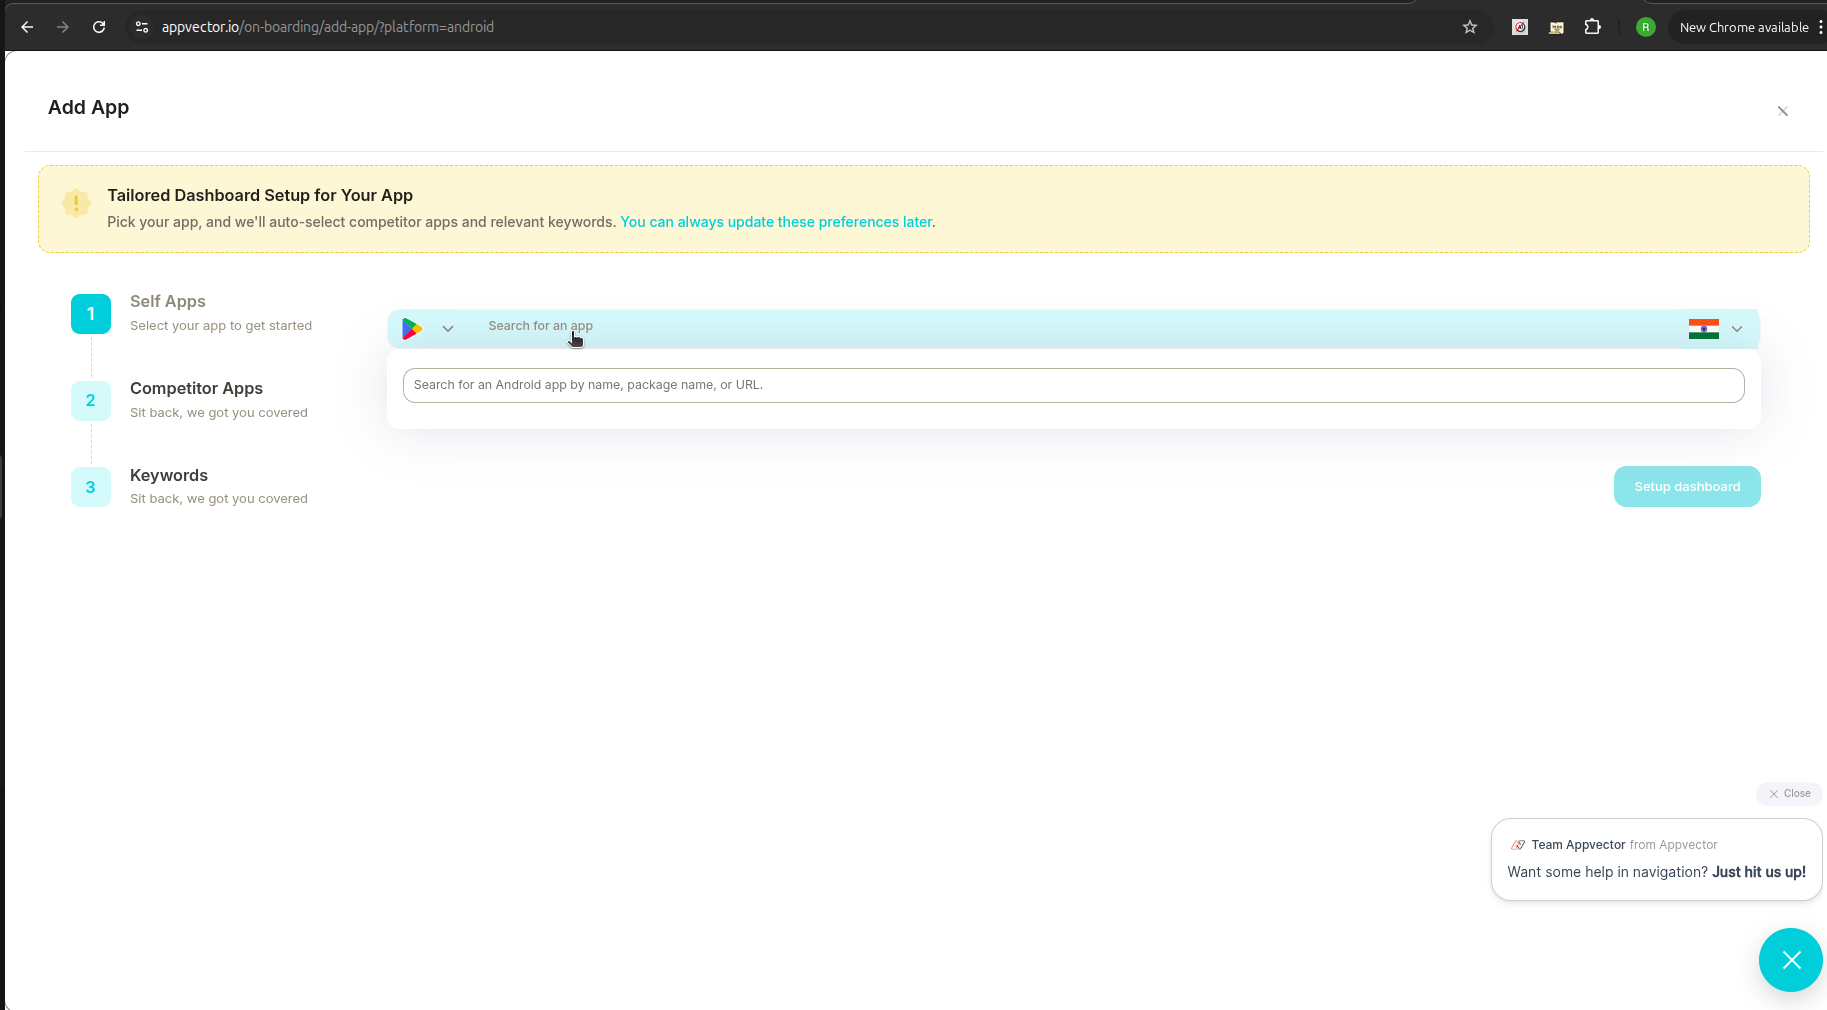
- Under Self Apps, click the search bar.
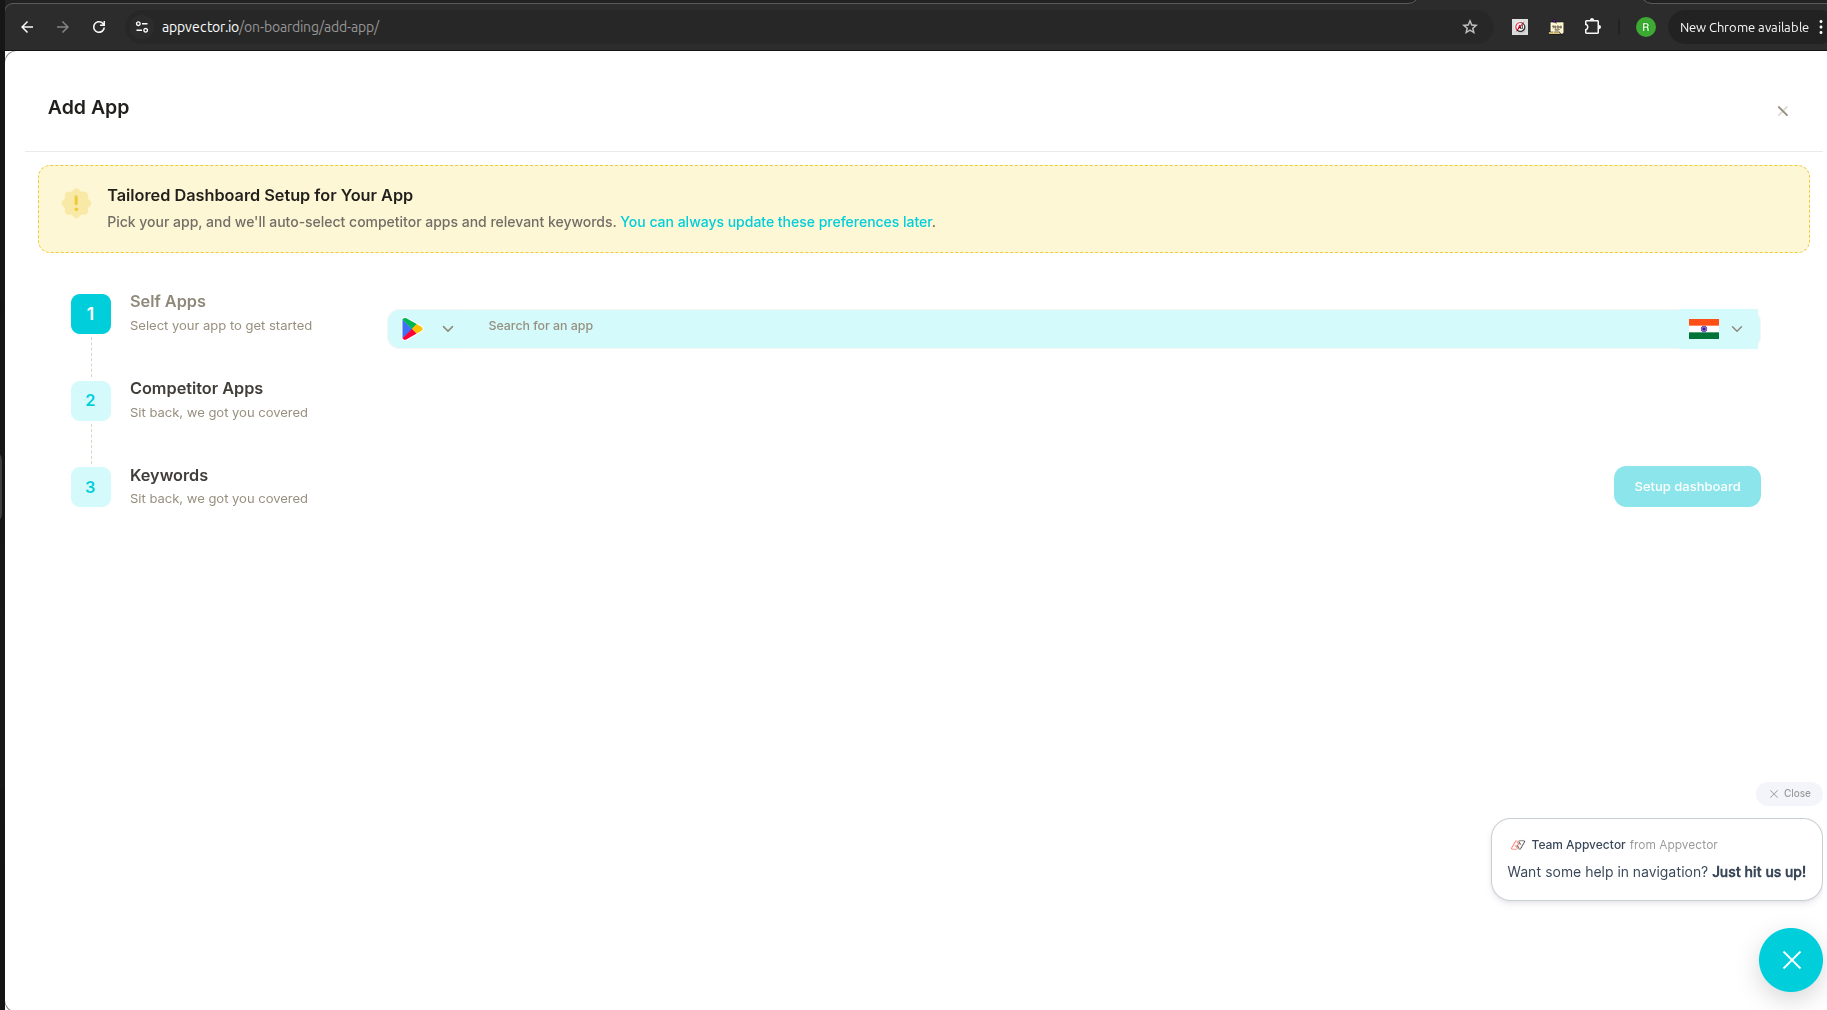
- Select your app store (e.g., Google Play, App Store).
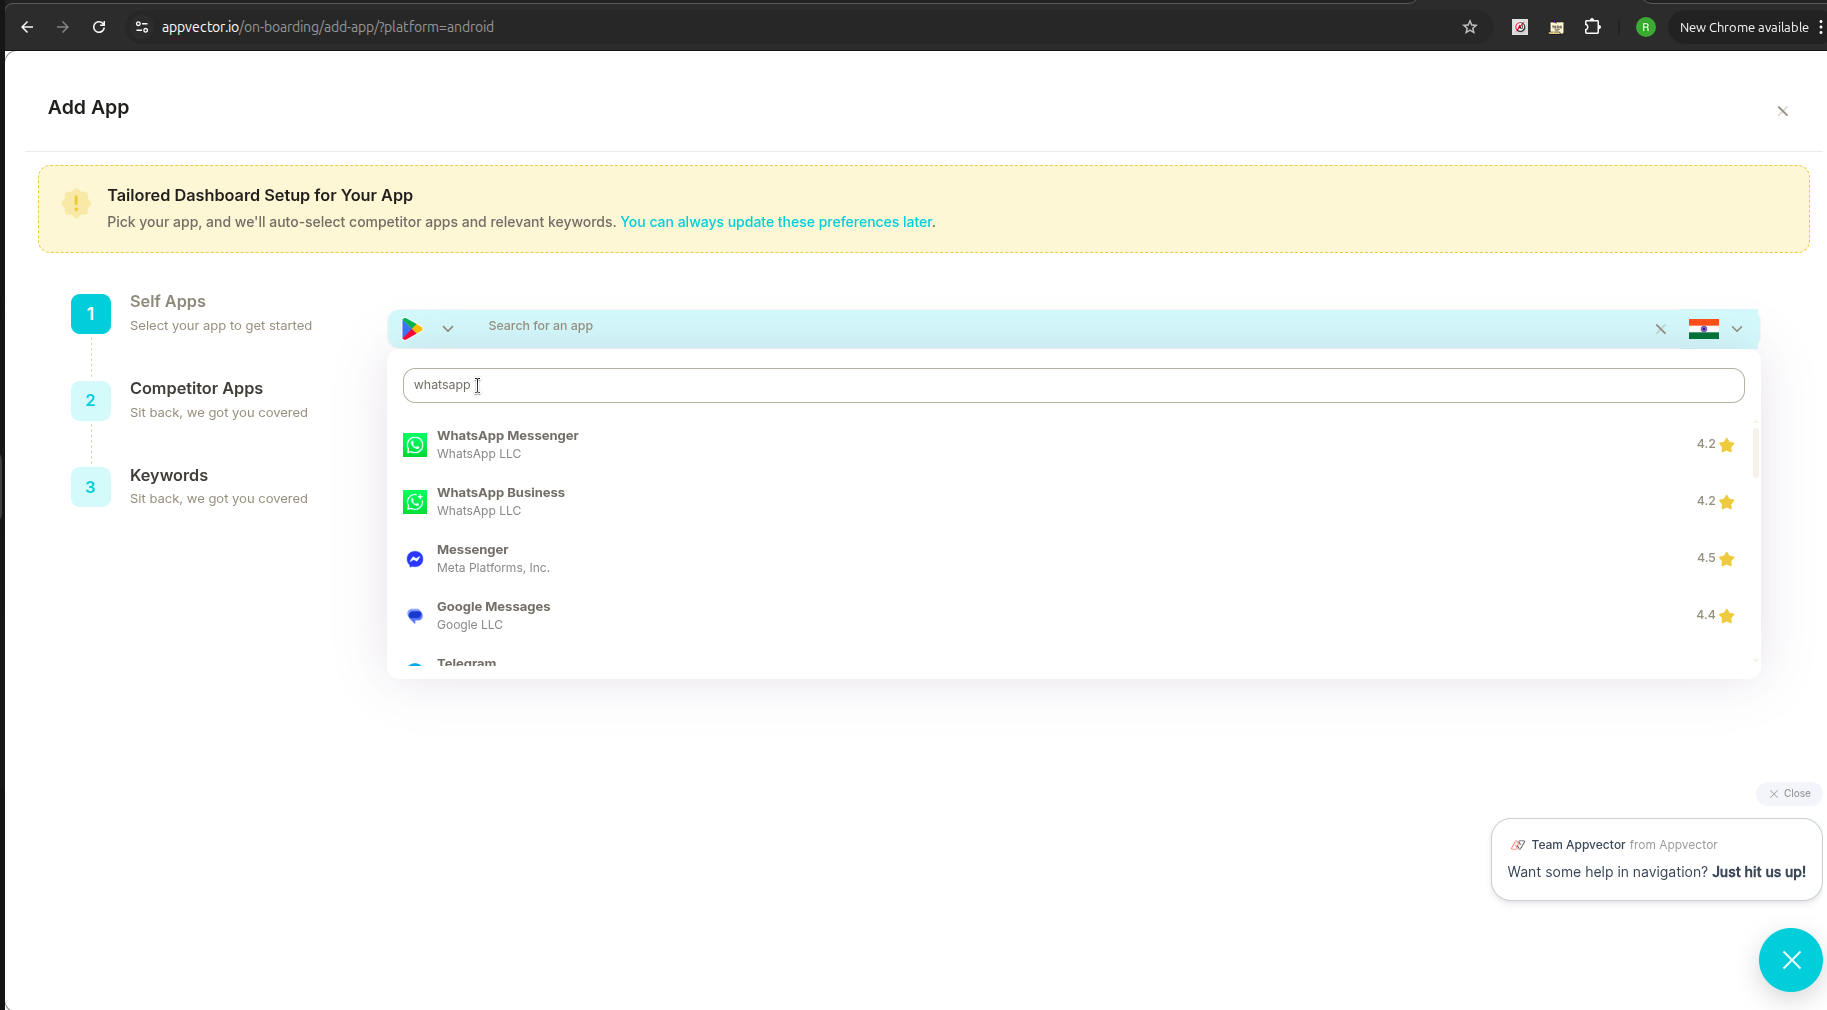
- Search for your app by:
- App name
- Package name
- Or App URL
- Select your app from the search results.
📊 Step 4: Finalize the Dashboard Setup
- After selecting your app, click the Setup dashboard button.
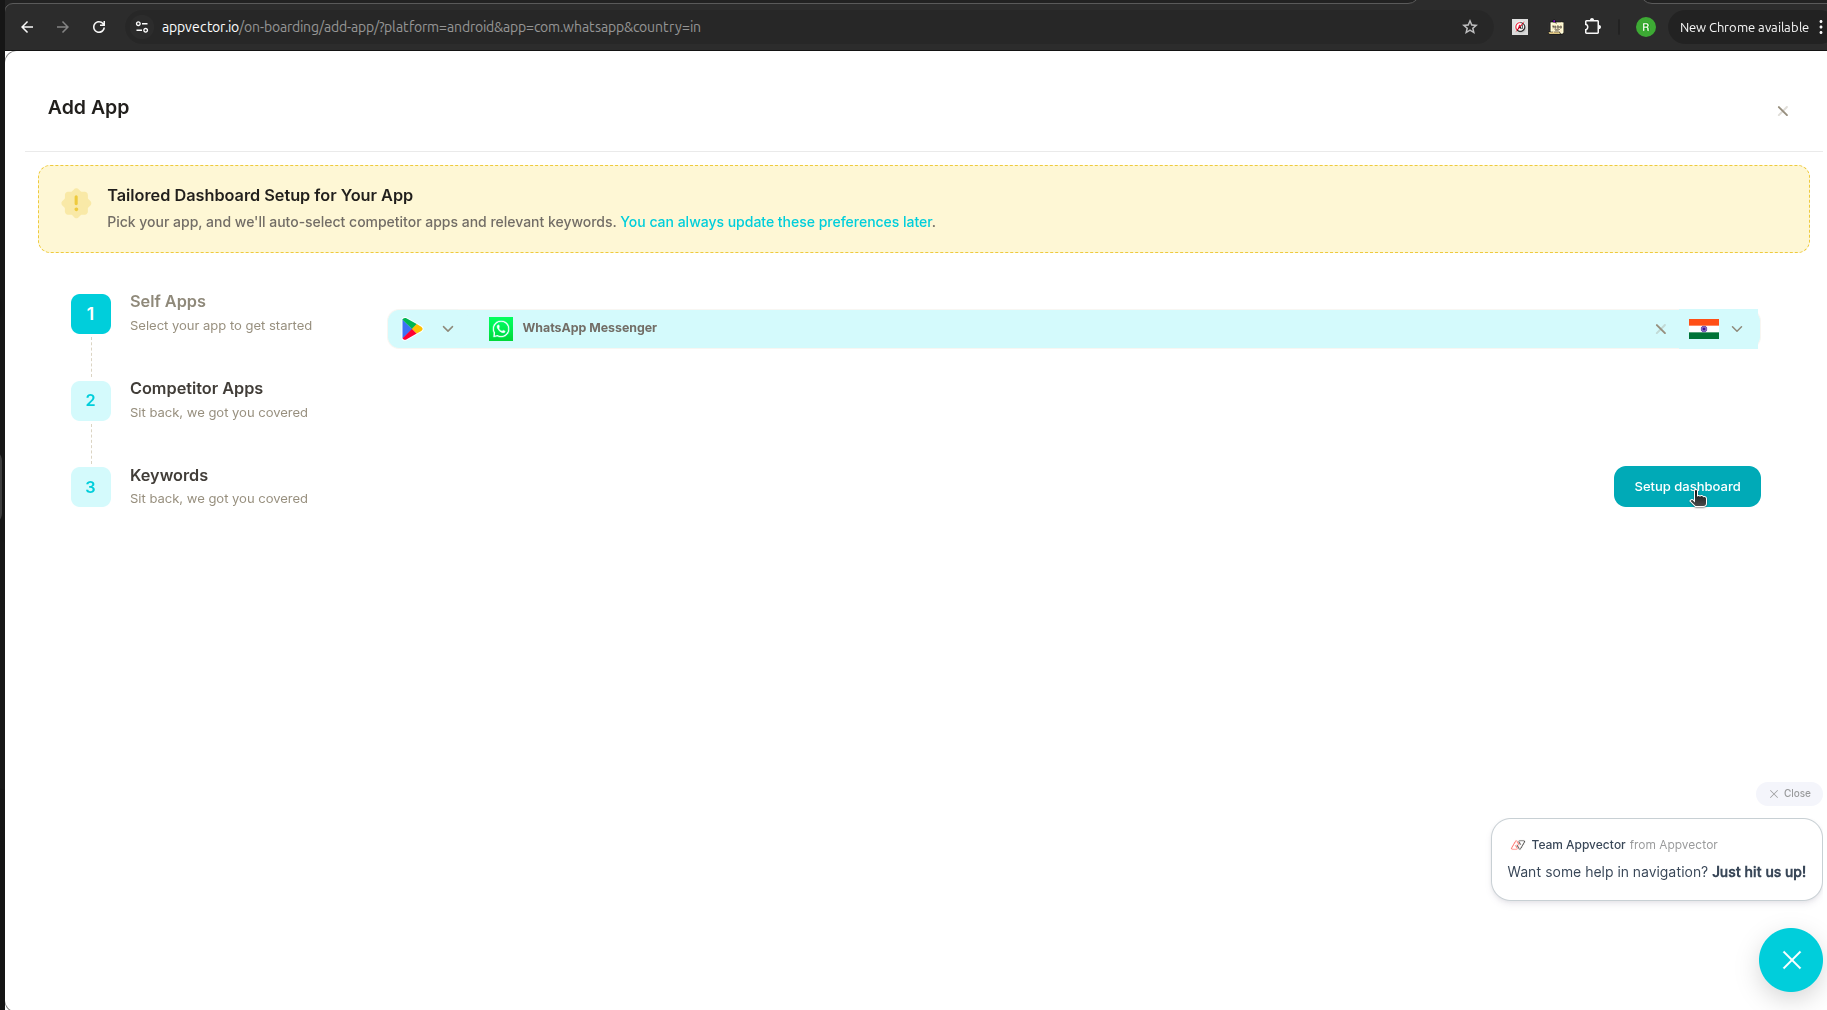
- Appvector will:
- Analyze your app
- Set up your dashboard
- Suggest competitor apps and relevant keywords

📈 Step 5: View Your App Dashboard
- Once setup is complete, you’ll return to the My Apps page.
- You’ll now see your app listed.
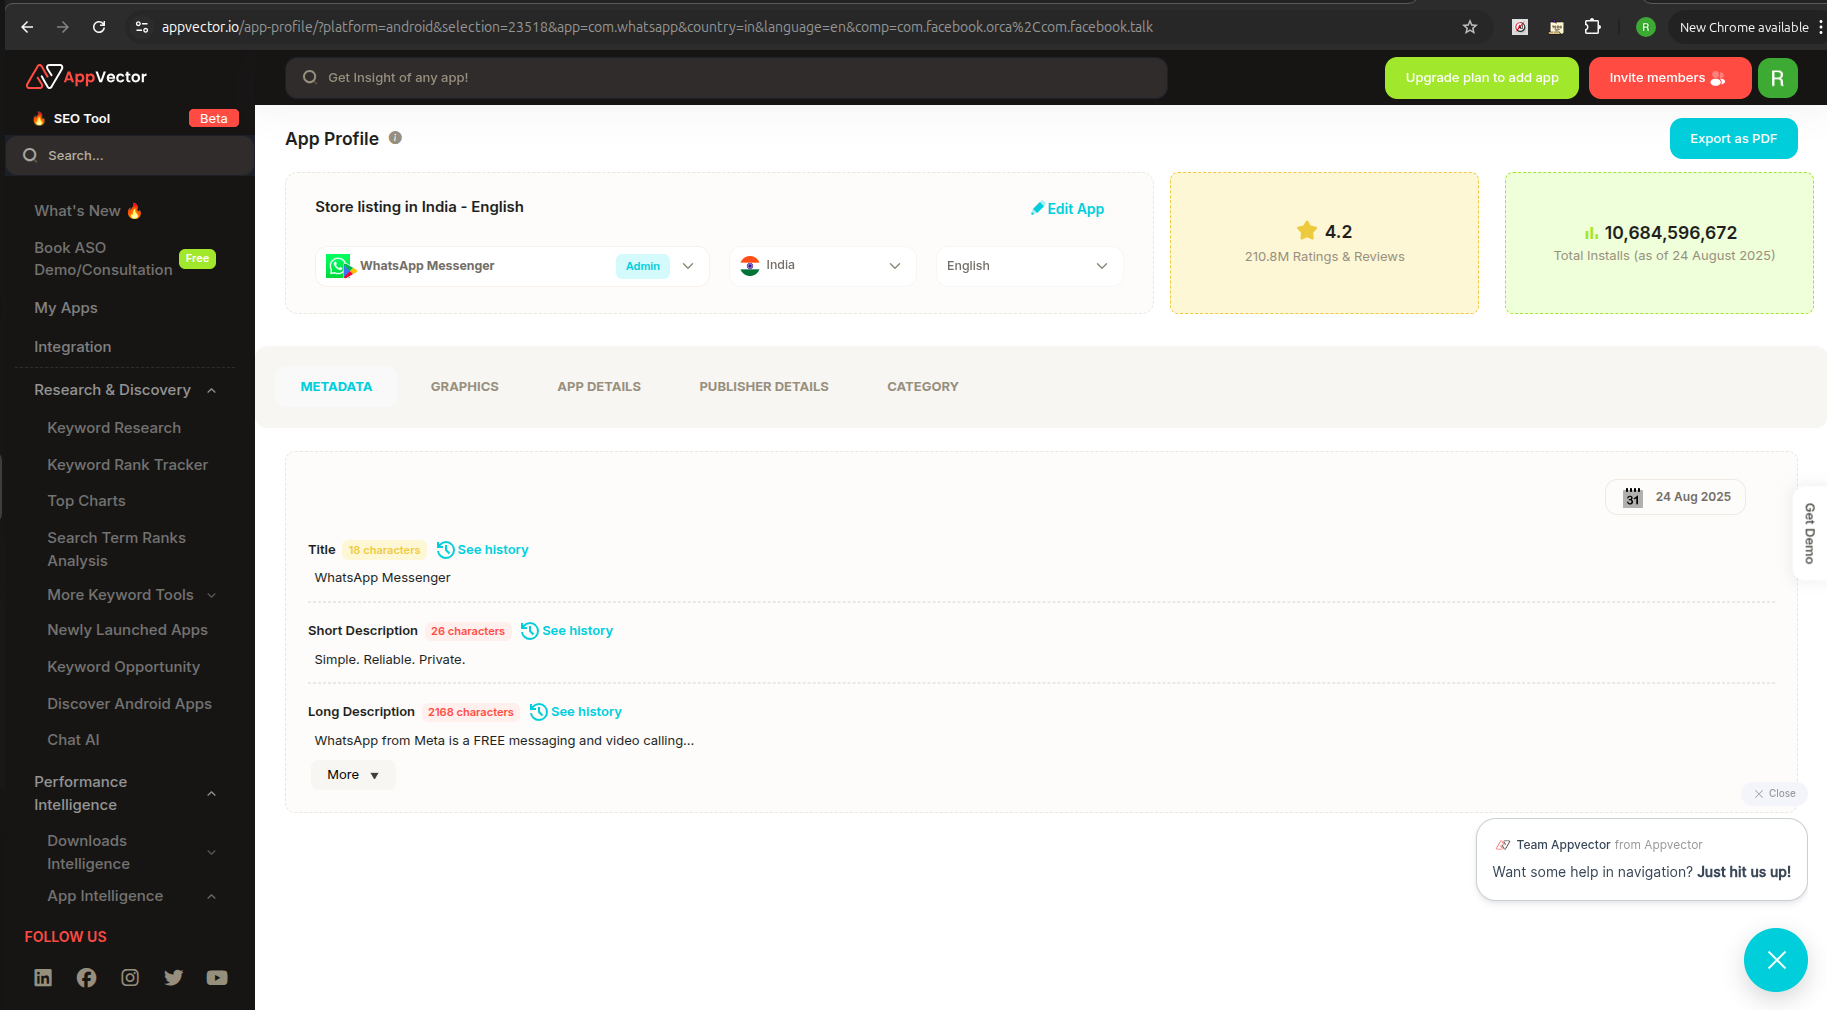
- Click on your app to open its dashboard with insights and analytics.