SV Guide: Add Your Website Google Search Console
- From the SearchVector dashboard, go to My Projects.

- Click on the ➕ Add Website button (top-right corner).
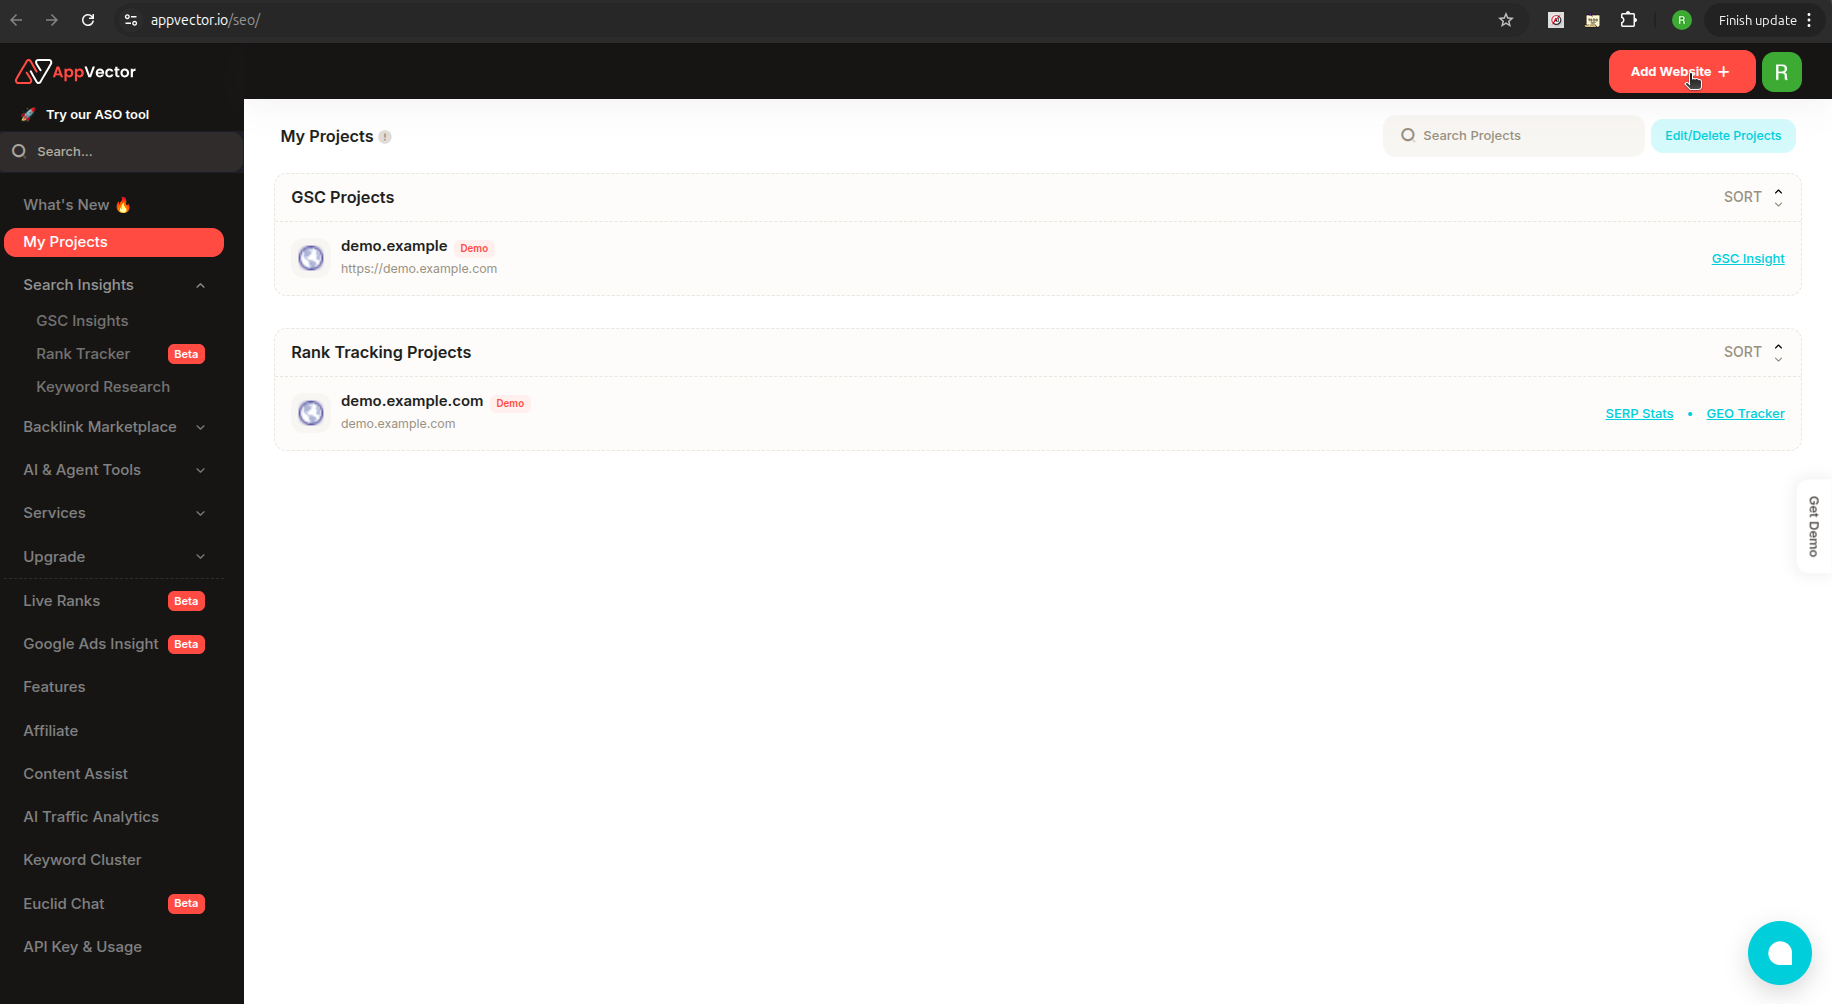
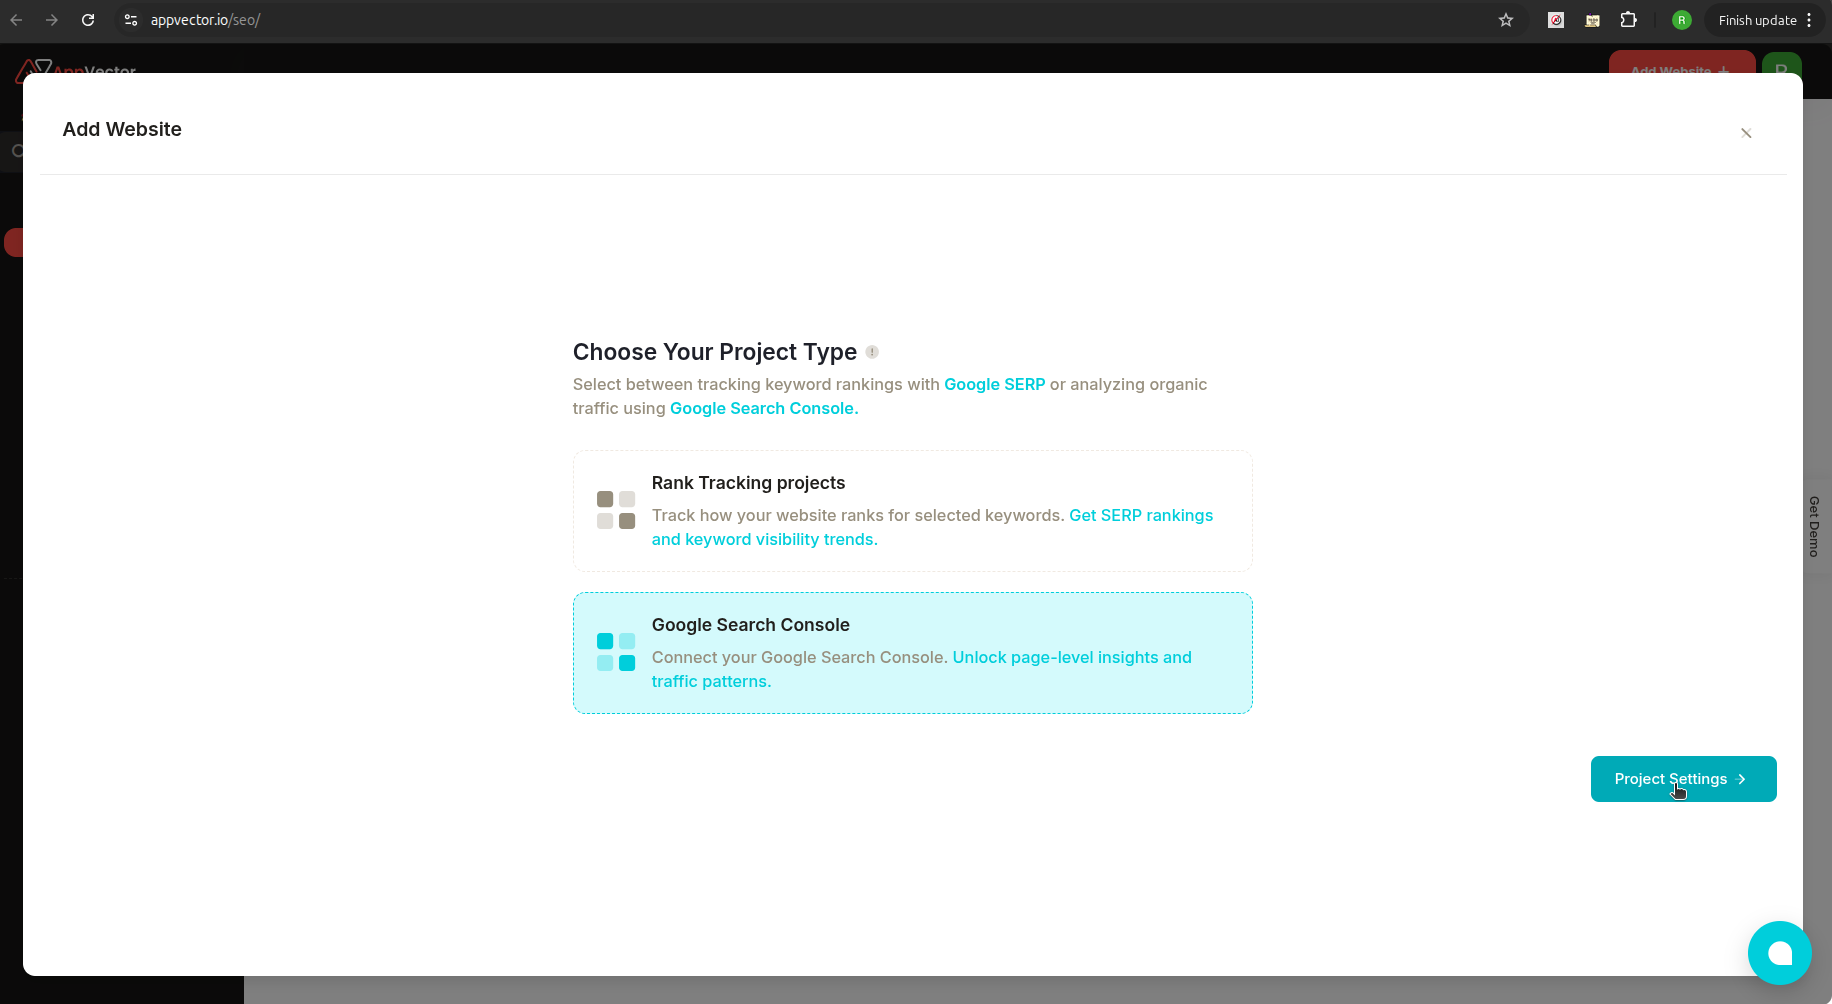
- Select Google Search Console from the available project types.
- Click Project Settings to continue.
- You’ll be asked to link your Google Search Console account.
- Click Continue with Google.
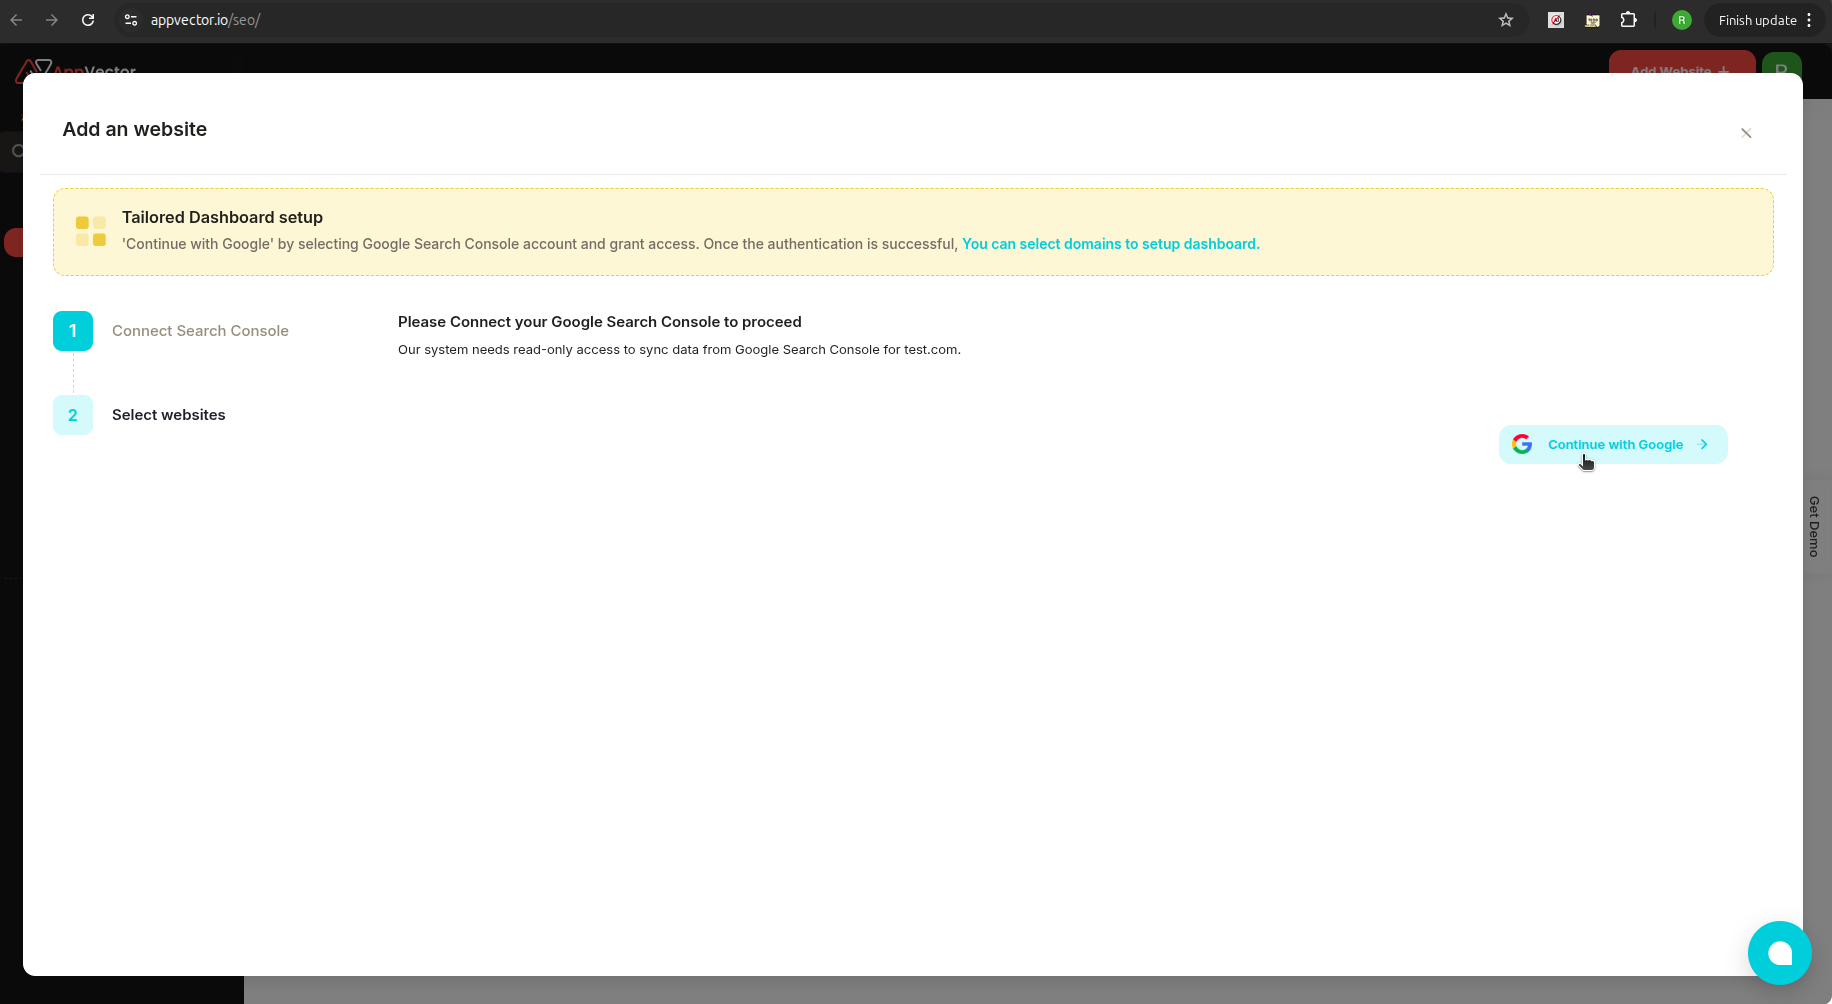
- A Google authorization window will appear.
- Review the required permissions.
- Click Continue to grant SearchVector access.
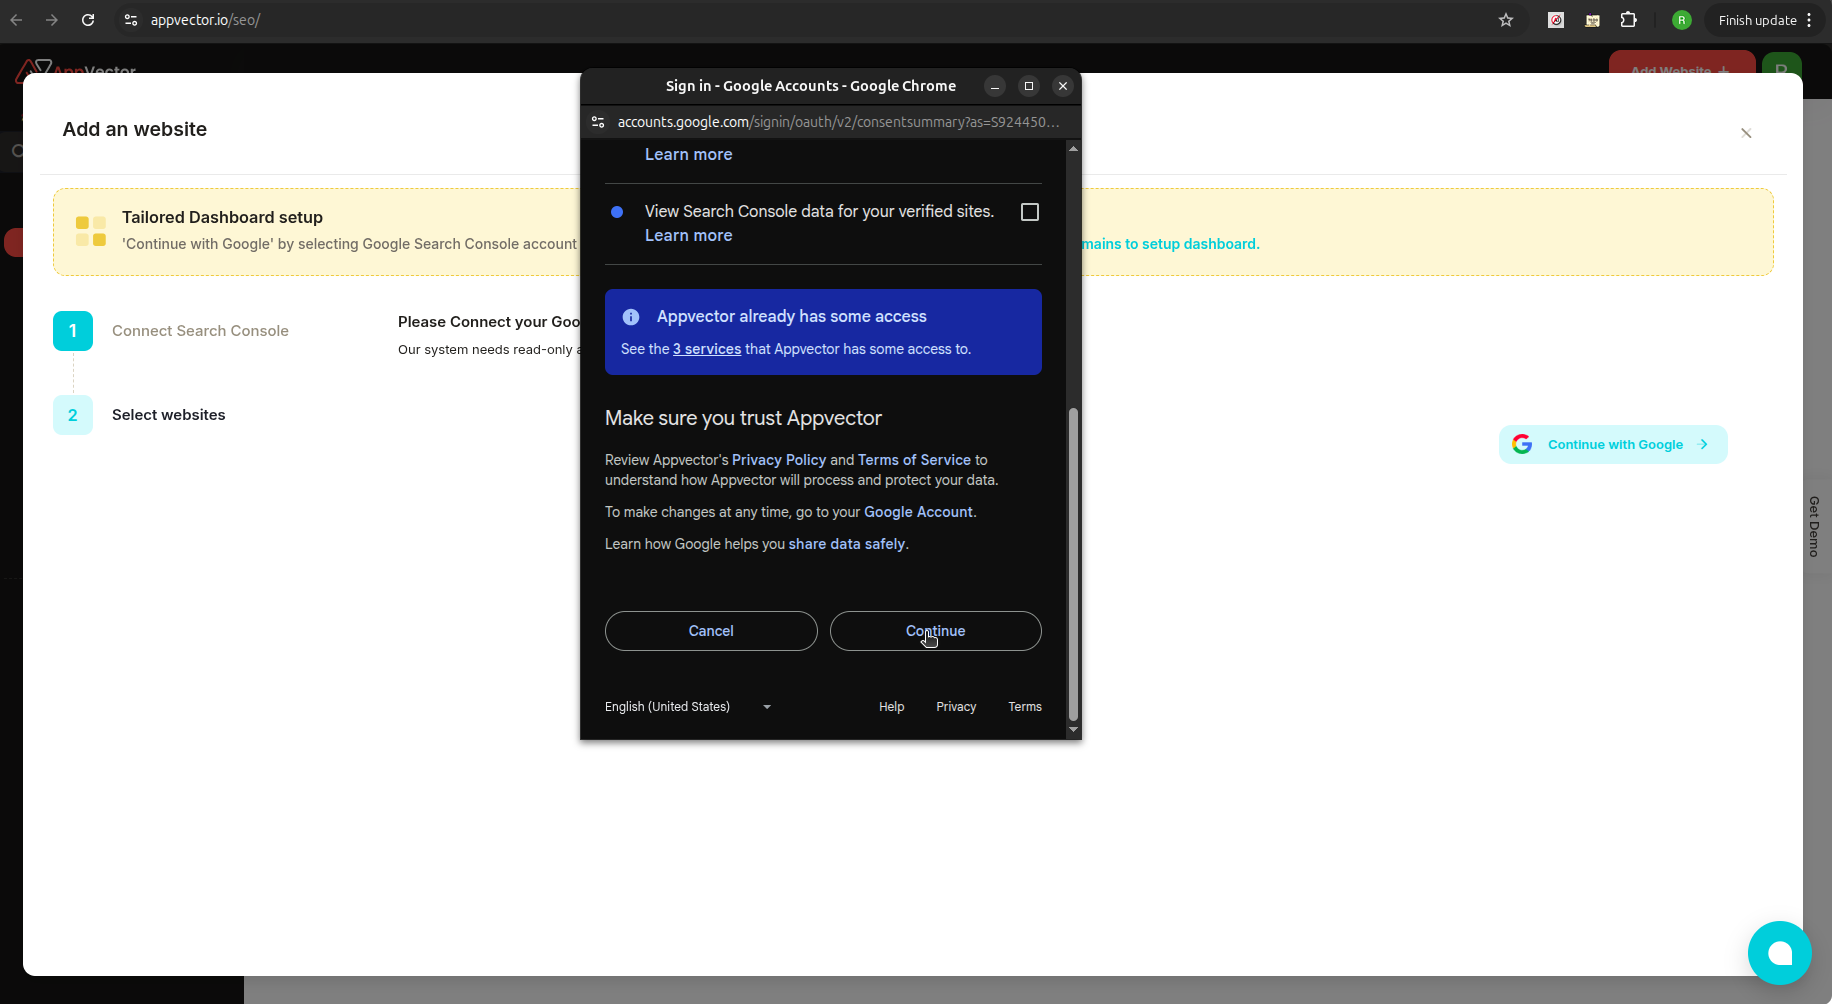
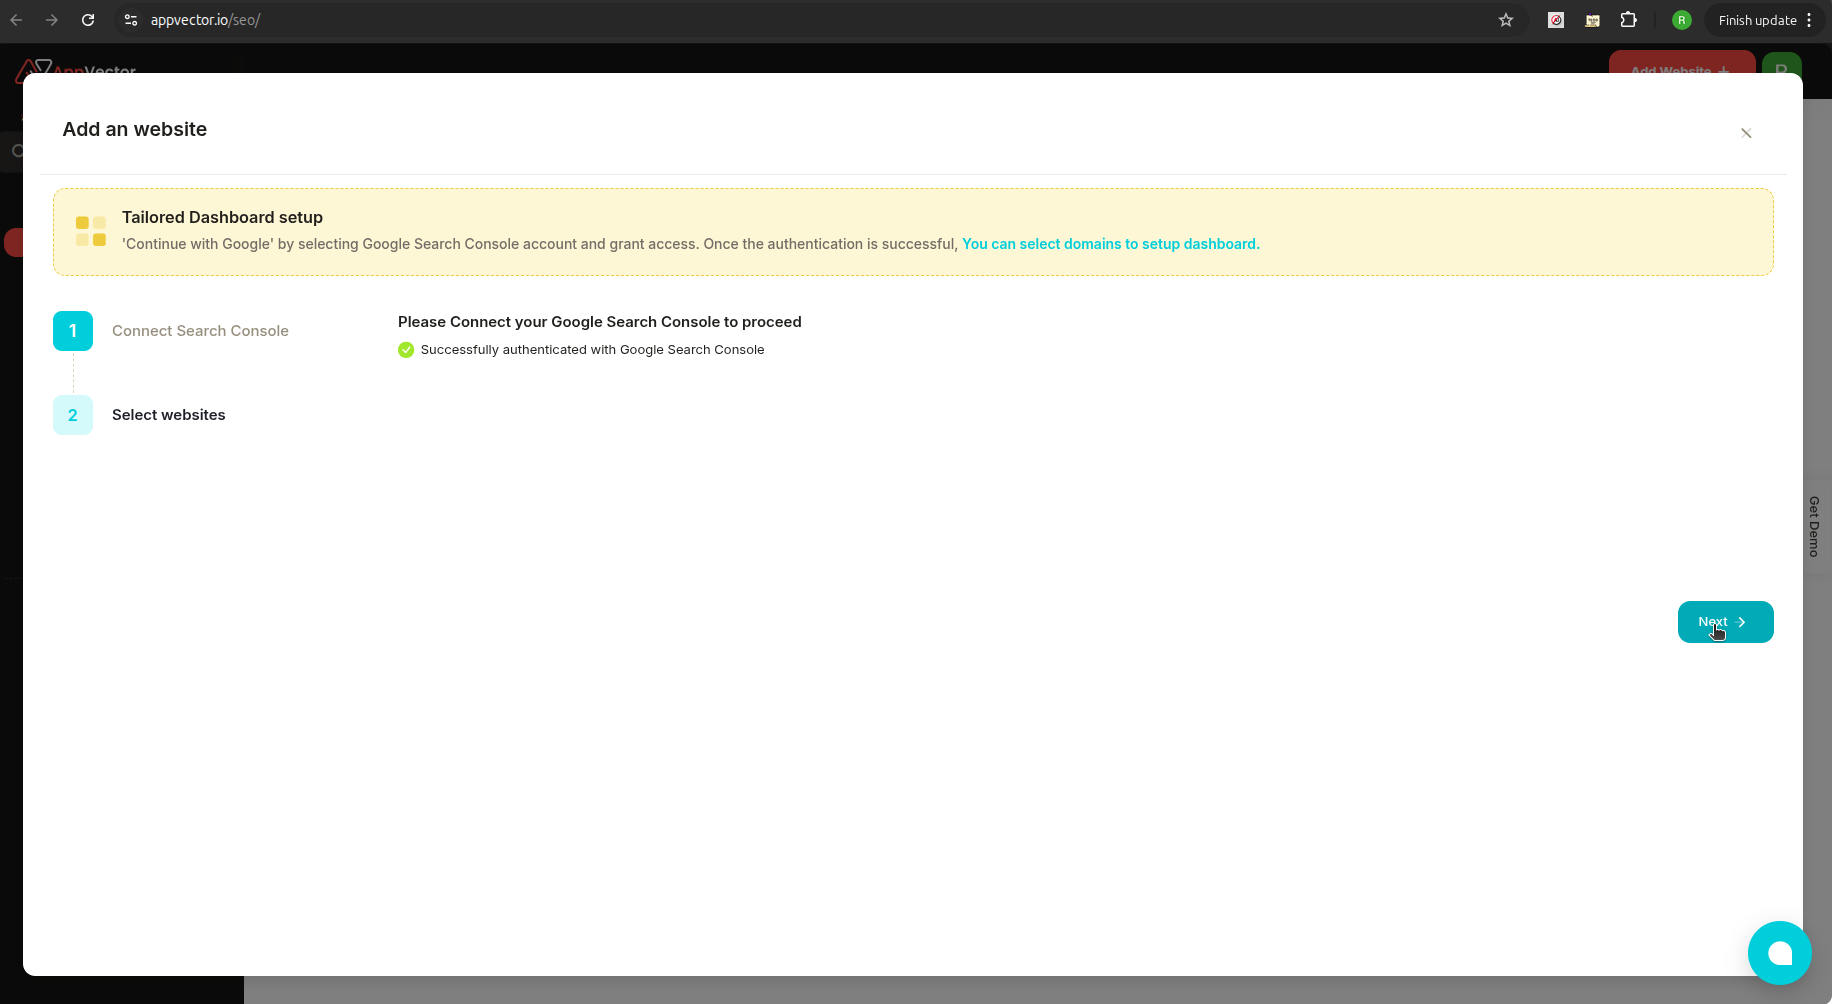
- Once authorized, you’ll see a “Successfully authenticated with Google Search Console” message.
- Click Next.
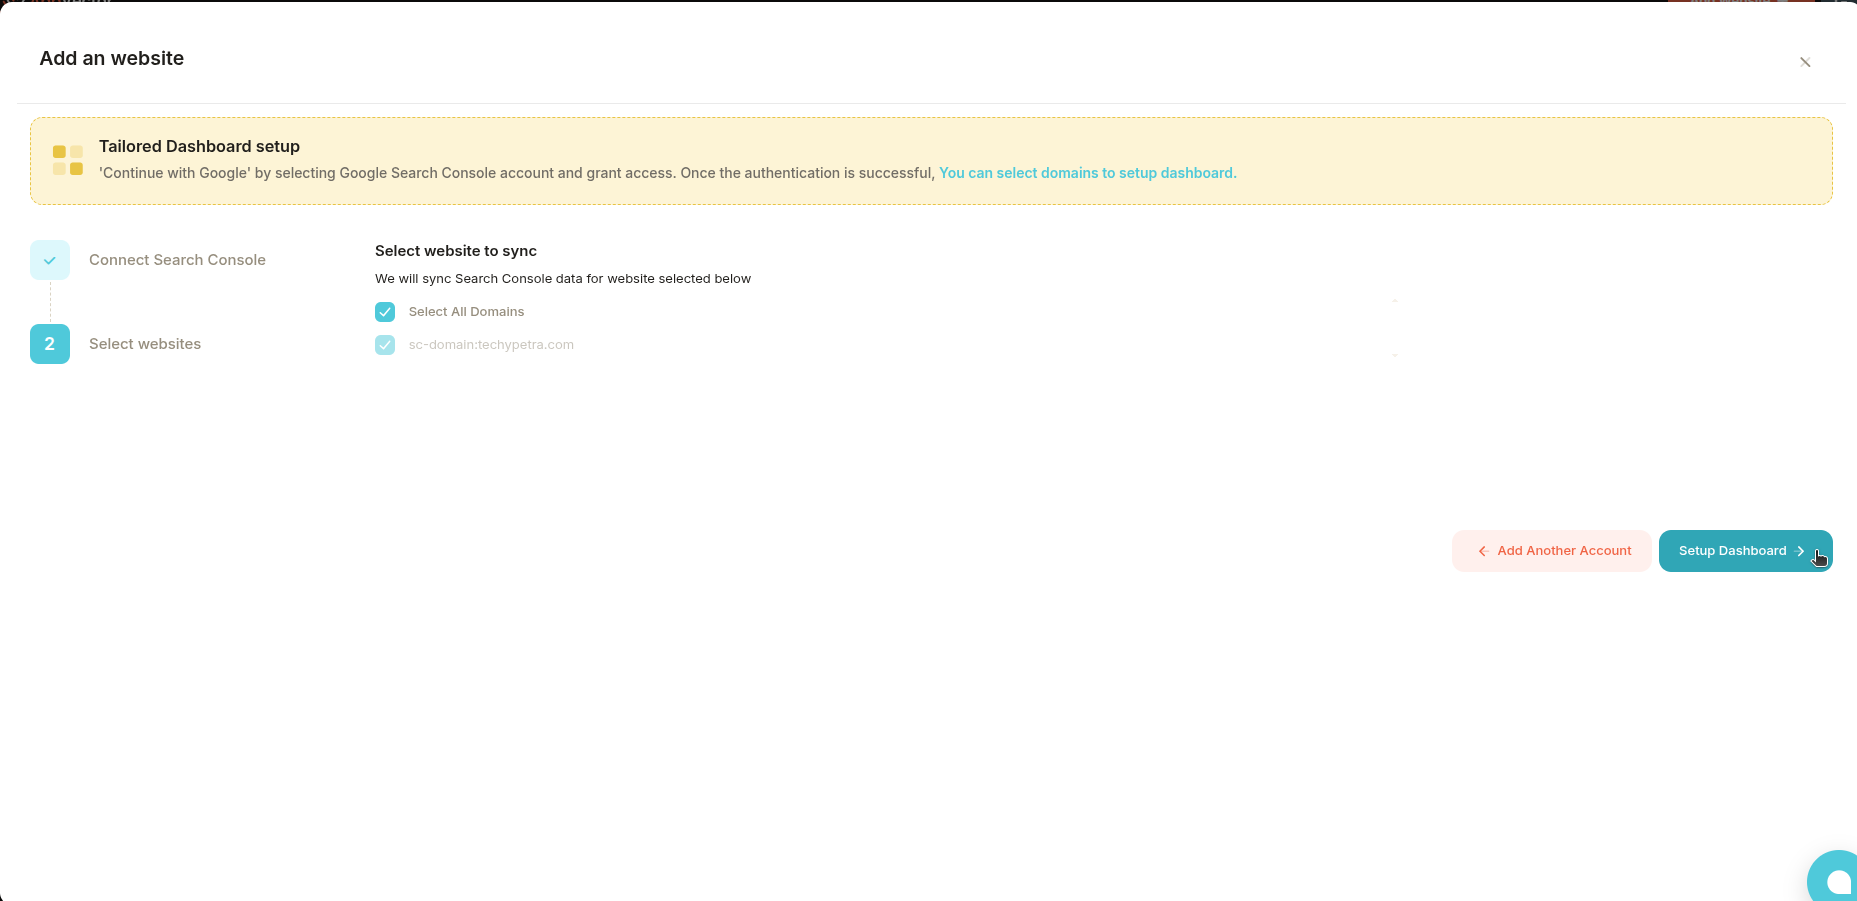
- From the list of GSC properties, choose the website you want to connect.
- Click Setup Dashboard.
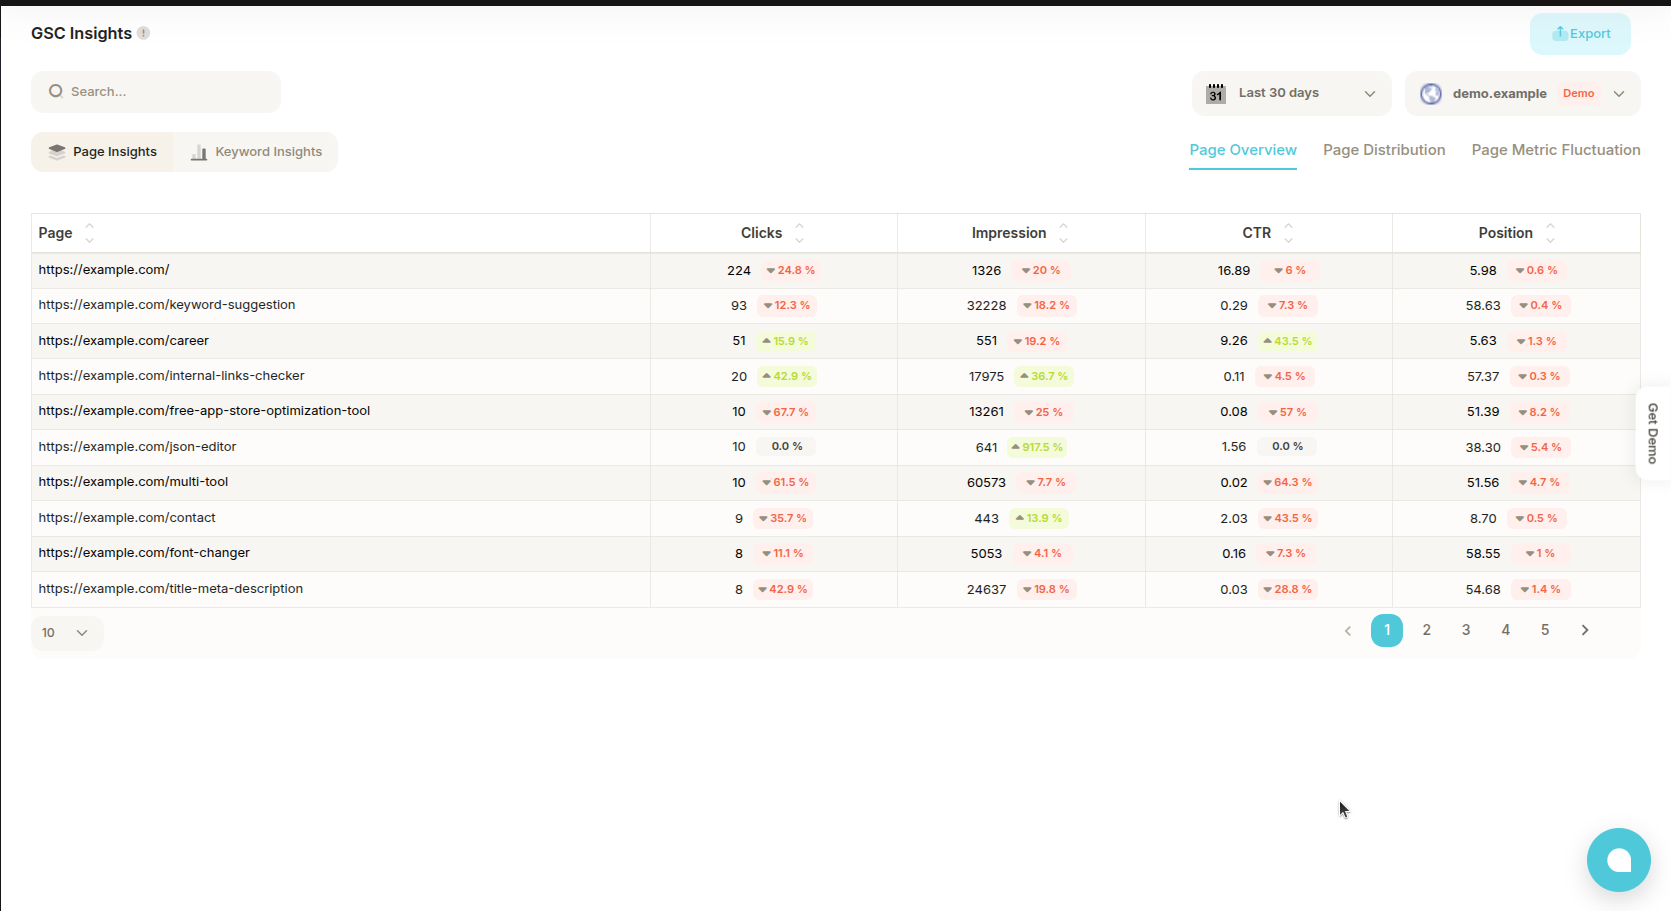
- You’ll be redirected to the GSC Insights Dashboard.
- Here, you can explore:
- 🔹 Clicks
- 🔹 Impressions
- 🔹 CTR (Click-through Rate)
- 🔹 Average position
- Ensure your GSC property is already verified before syncing.
- If you manage multiple websites, repeat the steps for each property.
- Use the dashboard regularly to monitor performance trends and optimize SEO decisions.